Nodes: Material Shader
The shared shader group, a tile's own material, back faces
Every tile keeps its own material, with its own texture: there is no single material for all tiles. What they share are node groups placed inside each material, in this order:
tile texture (or vertex colour) → OGC3D Metadata (Color tiles by) → OGC3D Relight
(Shared shader nodes) → Material Output
Editing a shared group changes every tile at once. Open a tile's material, at the bottom of the panel, shows the material of the active tile, or of the first one found. Here a point tile with a raster overlay, clipping, metadata colours and the shared shader nodes:
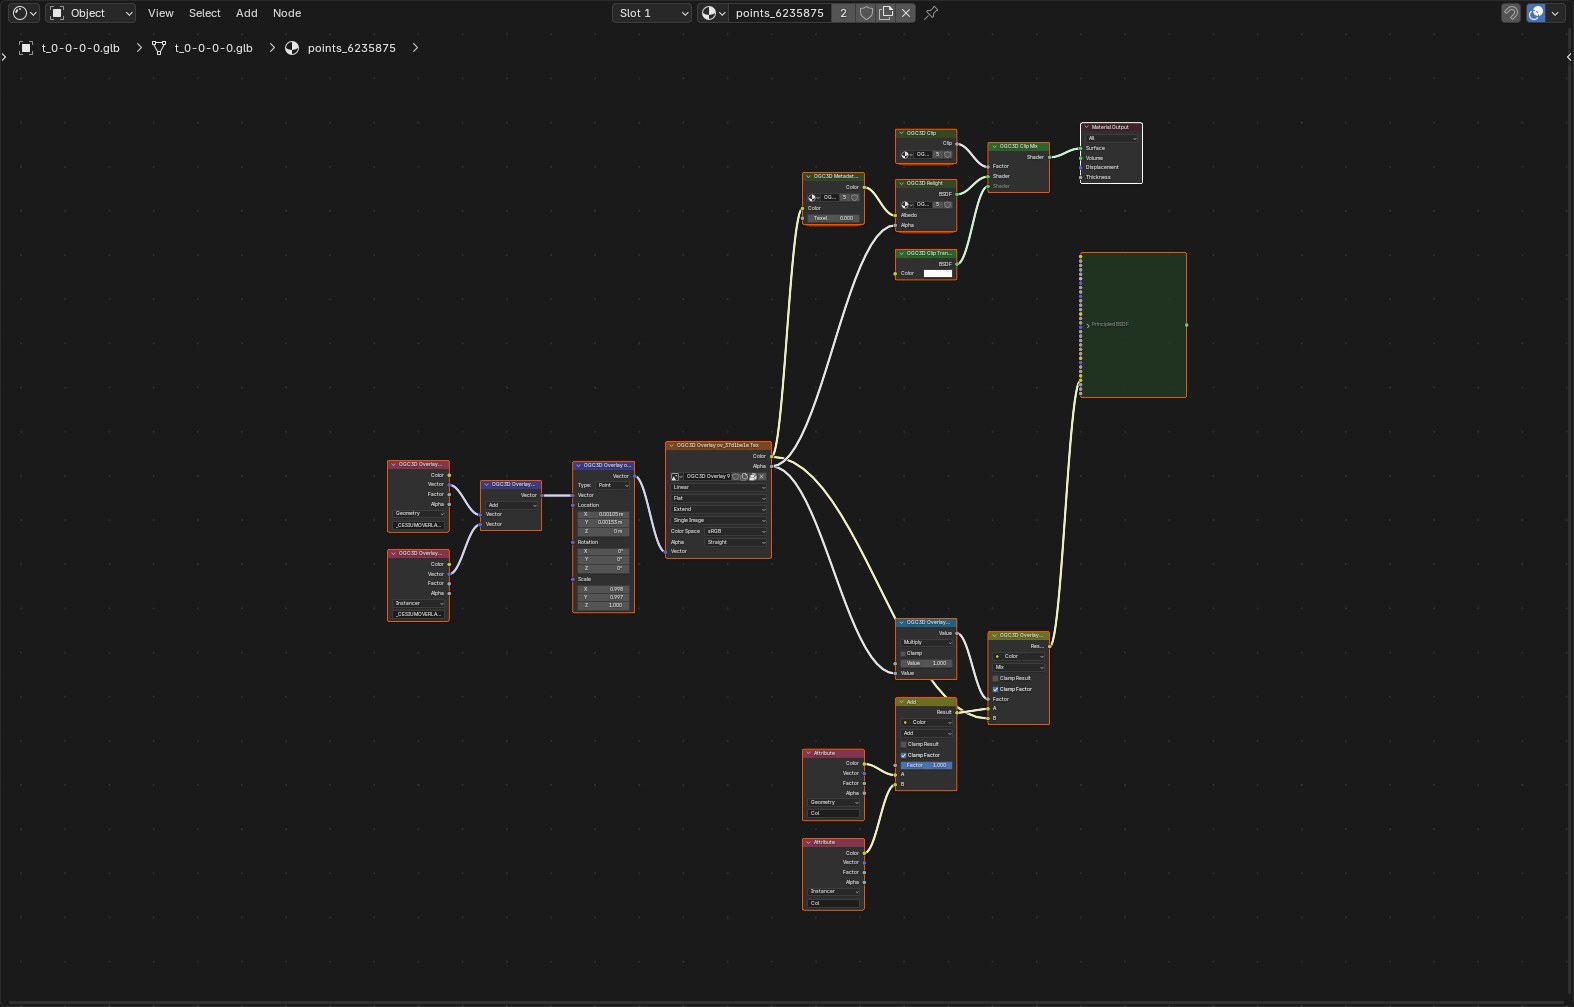
Raster overlays have no group of their own: their nodes are in each tile's material.
Shared shader nodes
Tick Shared shader nodes to put the OGC3D Relight group on every tile. Photogrammetry carries
its own lighting in its textures; the group lets you mix that baked light with Blender's lamps, lift
shadows, change saturation, or replace the photo with a clay colour.
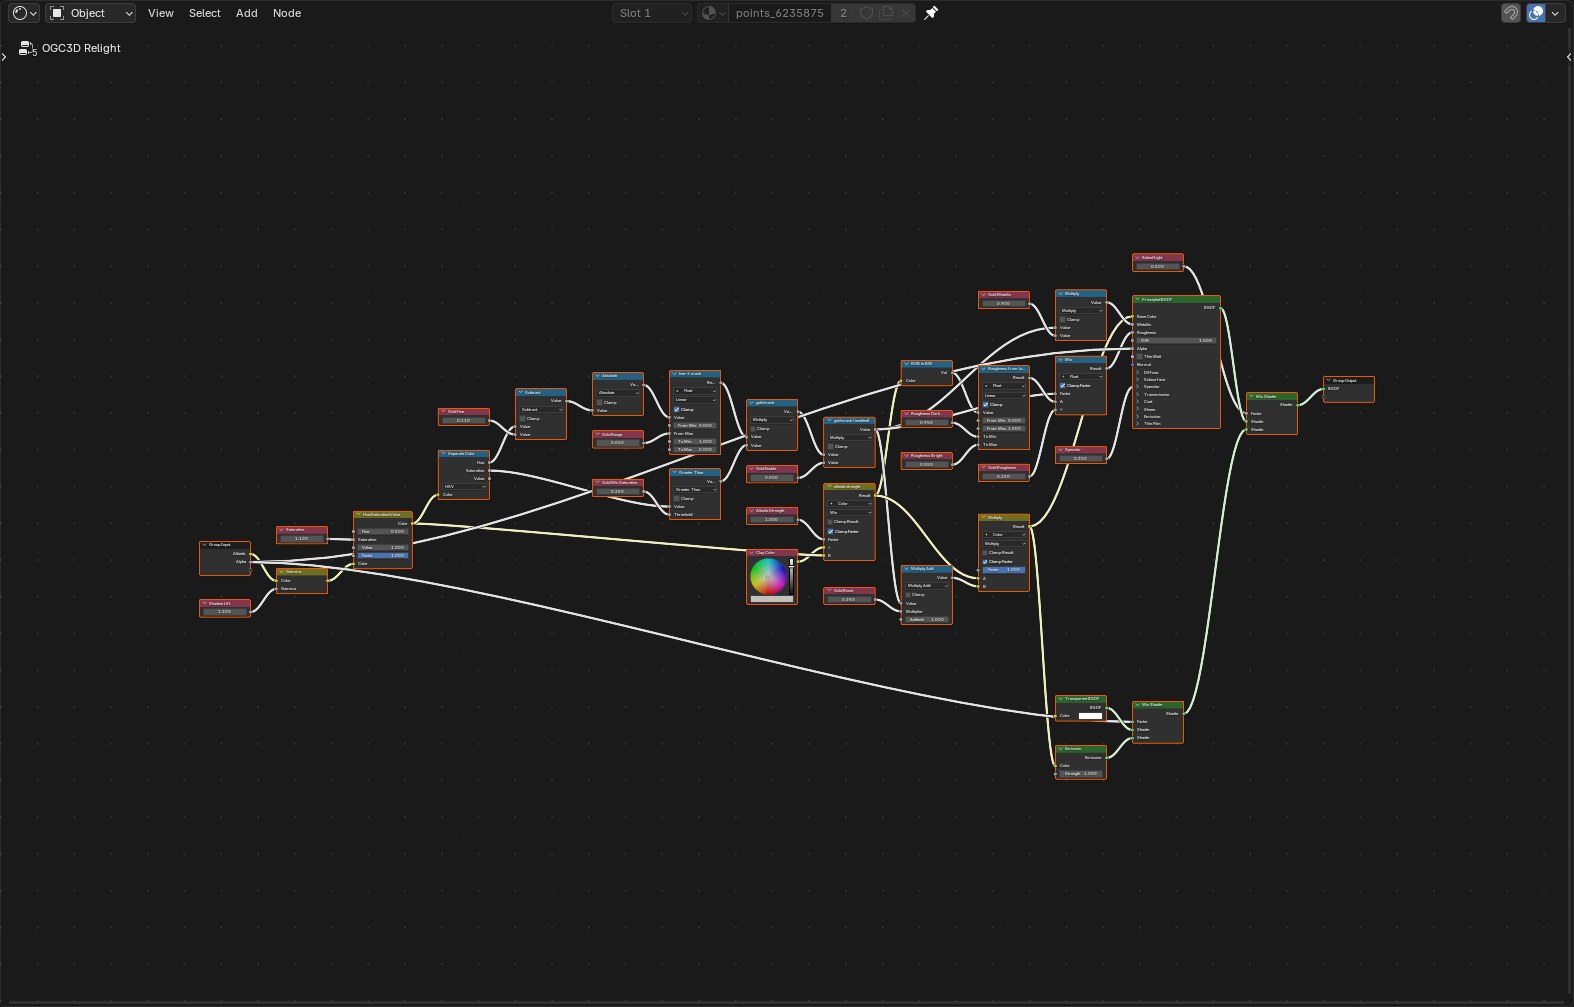
The node button opens the group to edit it by hand. Its Value nodes are also available as sliders:
Material controls. The Relight sliders, gold transfer and X-ray (faces turned to the
viewer fade out) included, in the Materials panel. Albedo strength and saturation run
from -1 to 2. Off, the buttons remain and the shared OGC3D Relight node group is where to edit
these values.
Lighting with your own lamps
In Rendered shading the tiles are lit by three things, and two of them are not your lamps:
- Baked Light (0.5 by default) makes that share of the material emit its own colour, as photogrammetry already carries its light;
- the world: the add-on brightens Blender's default dark world once, when the scene has no sun;
- your lamps.
For lamps only, set Baked Light to 0 and the world's Surface strength to 0 (World properties).
Without Shared shader nodes there is no Baked Light: mesh tiles are plain lit materials. Two cases still emit their colour whatever the lamps: point clouds, and tiles that declare themselves unlit, which Google Photorealistic 3D Tiles do.
X-ray
The X-ray slider makes the tiles see-through: faces turned toward you fade out, faces seen at a grazing angle stay. Walls and outlines then read through each other, which suits interiors and plan-like views from an orthographic top camera. X-ray Falloff sets how fast a face fades as it turns toward you.
In Material Preview the transparency looks stippled; it smooths out in Rendered shading as samples accumulate, and in final renders.
Faces
Faces sets back-face handling for every tile
material (EEVEE and Cycles): Force double-sided (default: clipped or open
meshes show their inside), Force single-sided, or Material setting,
which restores what the tile declared (glTF doubleSided; most
photogrammetry exports are single-sided, which is why tiles used to vanish
from behind).
Viewport-region clip
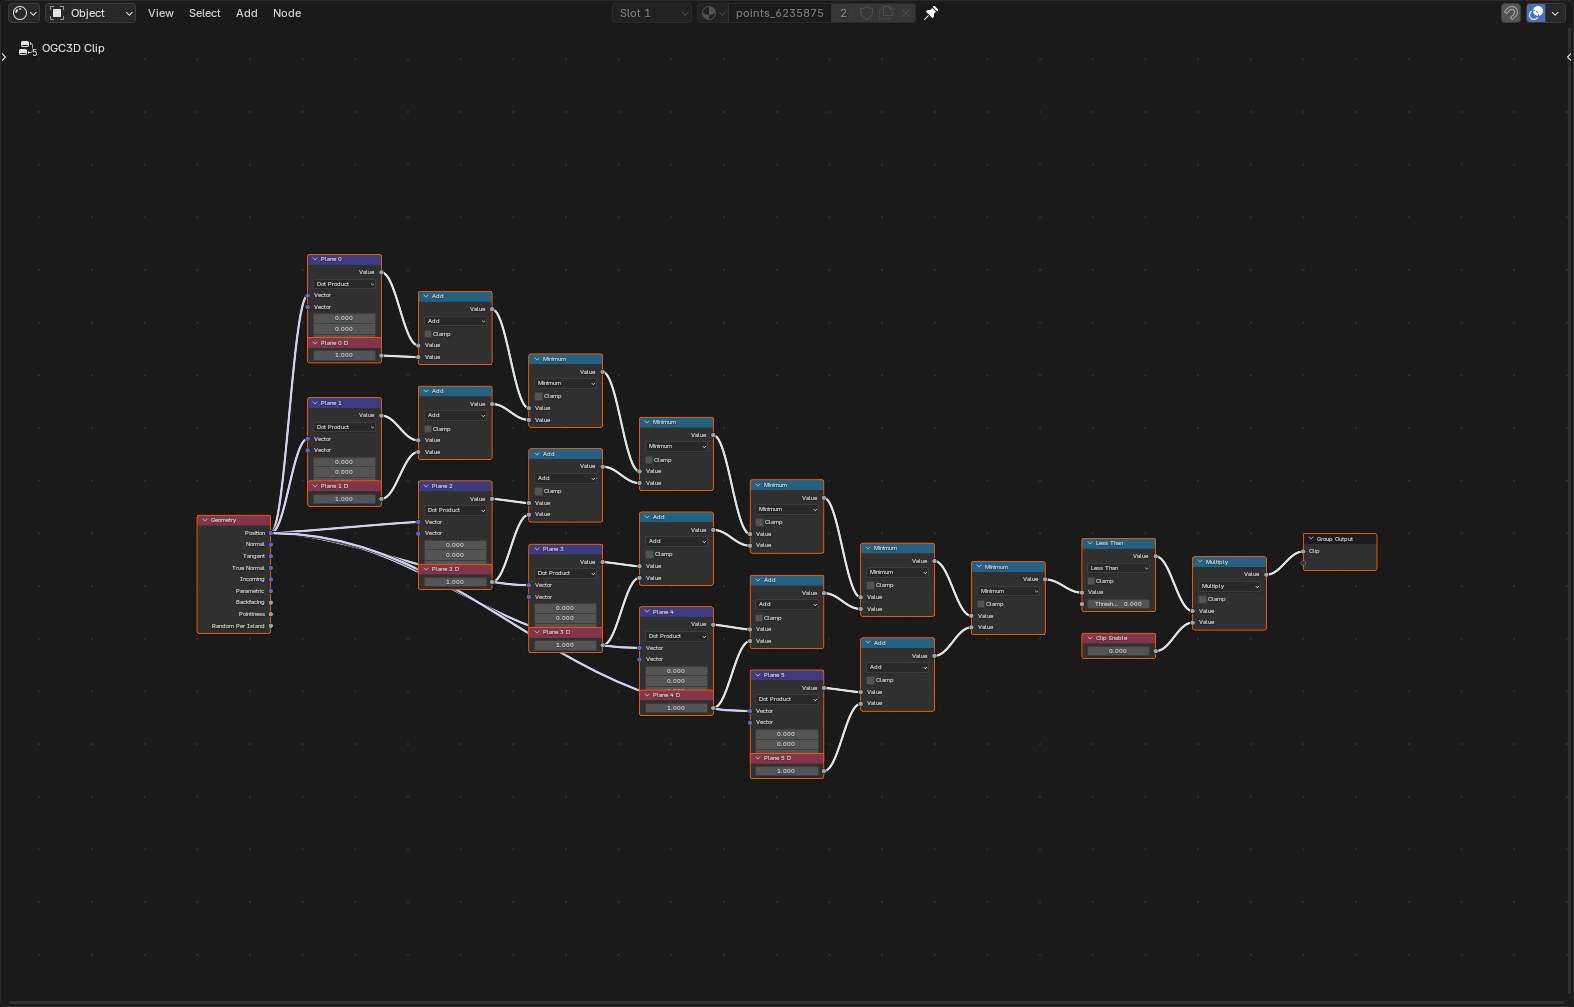
OGC3D Clip is the group behind Clip to viewport region (Alt+B), described in
Clipping: