Raster overlays
Imagery draped on tiles: OpenStreetMap, Esri, IGN, your own WMTS or WMS, Google, Bing
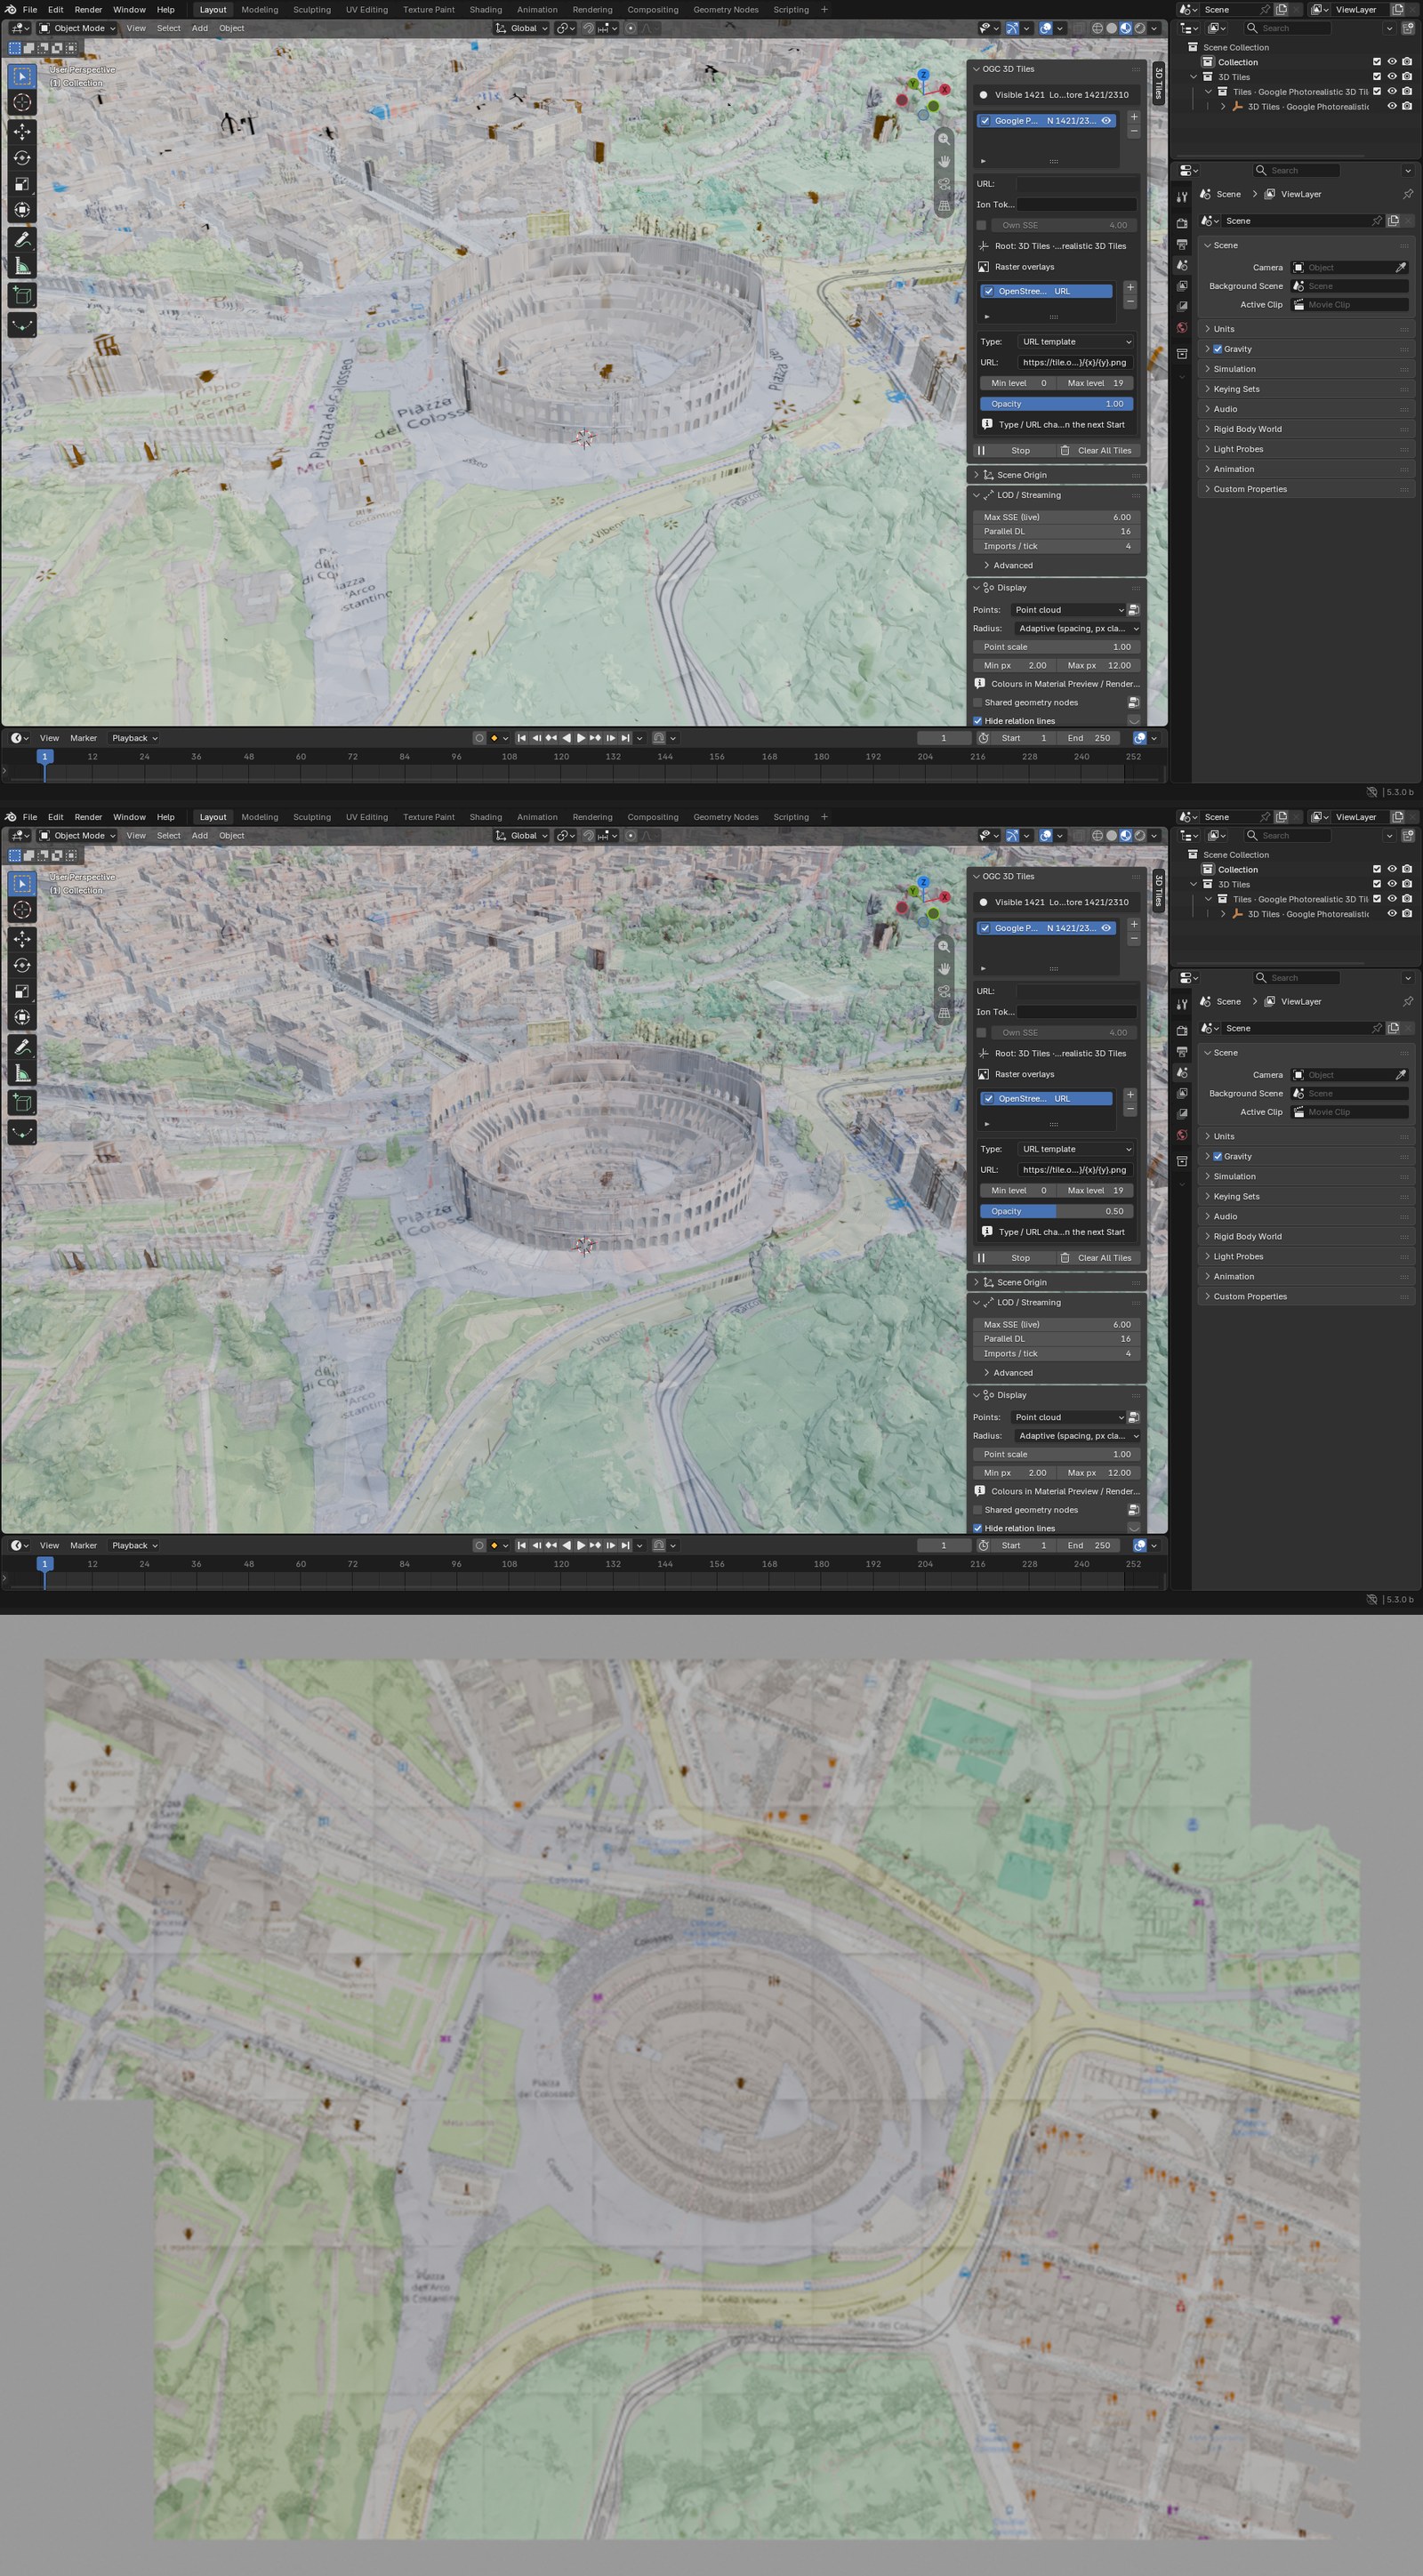
A raster overlay drapes a map or an aerial image on a tileset, the way Cesium for Unreal and Unity do. It needs the cesium-native backend.
Add one
- Select a tileset and tick Raster overlays in its box.
- Press the bookmark button under + / - and pick a preset, or press + and fill in a source.
- Press Start. If the tileset is already streaming, the overlay appears at once.
| Preset | Key |
|---|---|
| OpenStreetMap | none |
| Esri World Imagery | none |
| IGN orthophotos, France (WMTS or WMS) | none |
| Google Map Tiles, Bing Maps | yours, kept in a library file |
Your own sources: a URL template with {z}/{x}/{y}, TMS, WMTS, WMS, a Cesium ion imagery asset, Bing
Maps, Google Map Tiles. A template pasted from a browser, with %7Bz%7D for {z}, works as it is.
Adjust it
- Opacity is live.
- Ticking or unticking an overlay is live. To apply an edited URL, untick it, then tick it again.
- Several overlays stack in the order of the list.
- Raster detail px sets how sharp the imagery is: higher is coarser, with far fewer downloads.
- The images are saved in the .blend, so a saved scene keeps its drape.
On point clouds and splats
Point clouds take overlays too: each point shows the map under it, seen from above, on walls as on roofs. It costs 8 bytes more per point. Gaussian splat tiles do not take overlays.
A globe or a terrain to drape on
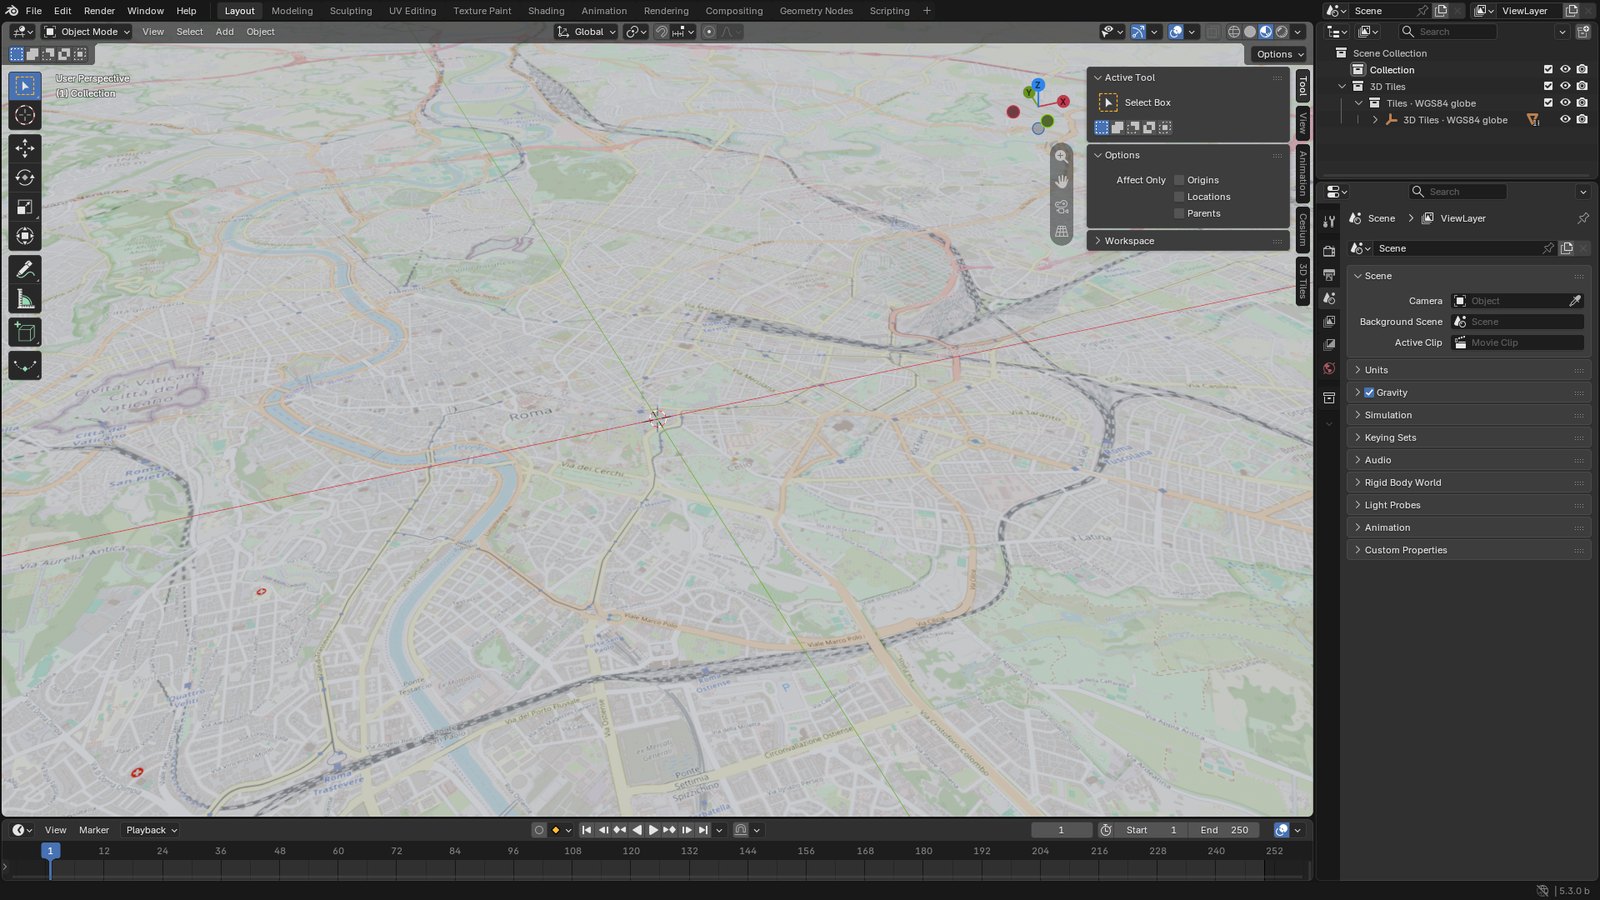
When there is no 3D Tiles content where you look, add a tileset entry of another type:
- WGS84 globe: a bare globe, subdivided as the camera gets closer.
- Quantized-mesh terrain: the
layer.jsonURL of a terrain server, such as swisstopo's. For Cesium World Terrain, use a Cesium ion entry.
Both cover the whole world, so give the scene an origin first: Custom, or Search place, in Scene origin.
How it works
cesium-native projects each tile onto the overlay's tiling scheme, adds a set of texture coordinates
to the tile (_CESIUMOVERLAY_<n>), and streams the raster tiles that cover it at a resolution
matching the tile's size on screen. The add-on makes each raster a Blender image and adds, in the
tile's material, a UV Map, Mapping, Image Texture, Mix chain over the tile's own colour. For point
clouds the coordinates are computed per point, in the overlay's own projection, so the cloud's
coordinate system does not matter.
Terrarium and Terrain-RGB elevation rasters are not terrain sources in cesium-native.